Every season we should all clean out our pantries and donate any items for recipes we know we’re not going cook.
Cleaning out your pantry is actually pretty straightforward and many find it therapeutic, which is something we can all use. We have a few steps to make your pantry cleanout easy and breezy, so let’s dive in. Shall we?
Easy Steps to Clean Out the Pantry:
**Click to auto scroll by section
1. Take Everything Off The Shelves
Whether you want to work your way top to bottom, by sections, or by food group, just stay consistent and focused while cleaning out your pantry to avoid needing extra breaks.
Make room on your kitchen table or counters so you can spread your pantry out into groups. So, for now, move your coffee maker and other appliances resting on counters elsewhere. Remember to include other pantry items that are hanging out in your kitchen cabinets like spices, sweeteners, baking goods, and more.
Don’t let the size of your pantry intimidate you! If it’s a big pantry, you’ll be happy that you cleaned it out as grime and grease can build up on shelves and in those dark corners. If you’re cleaning out a small pantry, getting to look at it while it’s empty is crucial to organizing it to its max potential. Either way, cleaning your pantry now and then is smart to prevent pests.
✨ Pantry Clean Out Tip: Too big, too tired, or too busy? Tackle your pantry one section a day!
2. Group and Note Expiration Dates
As you spread things out on your counters, group them into categories so you’ll be able to clearly see duplicates as well as the almost-empty bags and forgotten snacks.
Here are some categories that you might group your pantry by:
- Baking goods (flour, sugar, yeast, vanilla, chocolate, cornstarch, baking powder)
- Spices and seasonings
- Sweeteners (honey, maple syrup, corn syrup)
- Canned goods
- Rice and grains (beans, rice, oats, pasta, quinoa)
- Snacks and cereals
- Oils and vinegars (olive, vegetable, sesame oil, balsamic, cider, red/rice wine vinegar)
You can use a sharpie to write the expiration date somewhere you can easily spot, as we all know that the printed expiration dates are way too small and hard to quickly locate.
Labeling the expiration date will not only help you maintain your decluttered pantry as weeks go on, but they make it easy to make sure you use the item before they spoil. If you can’t find an expiration date, try to think back on how long you’ve had the item. Things like flour and flax can not only be an invitation for pests but oils can make them turn.
Pantry staple lifespans:
- Dry Pasta: Two years
- Whole Wheat Flour: Three months
- White Flour: One year
- Spices: Two years
- Baking Powder: One year
- Brown Rice: One year
- Oil Sprays: One year
- Coconut Oil: Three months
- Vegetable/Olive Oil: Two years
If you want to double your chances of maintaining your decluttered kitchen pantry, consider always putting the soonest-to-expire pantry items in the front.
3. Purge and Throw Away Old Goods
Obviously toss anything expired, but also consider things like spices you bought a while back for that one recipe you’re never going to make again, or other pantry items that you haven’t used in the last 6 months. Also, separate the items that you don’t need, aren’t open and are still well within their lifespan.
Consider reaching out to elderly family, neighbors, and friends to see what they could be lacking. If you’re maybe not feeling like giving a lot away, remember that some of what is in your pantry you haven’t thought of using during this time or even before. While it might make you feel safe, there are probably a few things you can get from decluttering your pantry that could really help someone.
Pantry Clean Out Recipes
For the pantry items that are probably too close to their expiration date to donate or give away, try some pantry clean out recipes! These recipes focus on things people typically stock up in their pantries once and forget about.
Everything from canned goods like kidney beans and chickpeas, to finishing off that quinoa that you ventured into trying but have since forgotten about — people have been dealing with expiring food for a very, very long time so don’t throw away perfectly good ingredients if you can make something delicious and freeze it for the future!
🌱 Eco-friendly Tip: Bring glass jars to grocery stores to fill them from bulk bins and save plastic!
4. Donate Extra Canned Goods

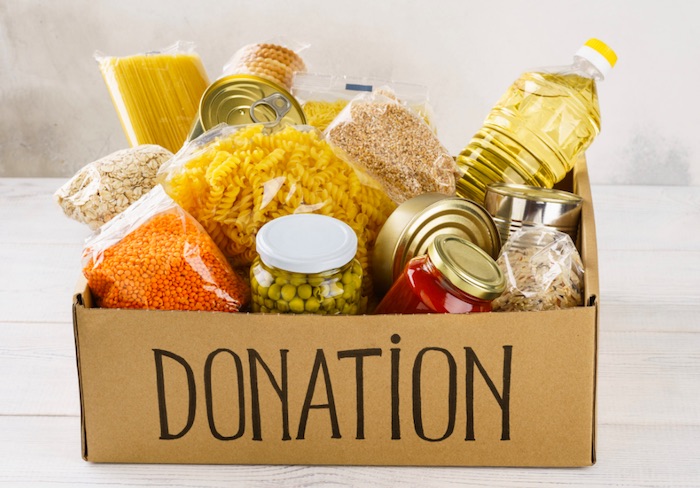
As you go through each of your categories, try to be ruthless and put more than a few things in a donation box. You likely could use some room in your pantry and local food banks would be happy to accept your donations. Some are operating drive-through food pantry services and others are following social distancing rules to remain safe while assisting those in need.
Related from the Trash Talk Blog: Where to Sell, Recycle & Donate Clothes
However, before getting in your car to go to a donation center, call your local food bank and ask if they’re currently accepting donations. You should also ask how to drop off the items as each location is practicing social distancing according to their setups and capabilities.
5. Make a Pantry Inventory
If you find yourself going to the store constantly for recipes and always get the sneaking suspicion that you already own something, but you aren’t sure, so you buy it only to find out that yep, you had it — then a pantry inventory list will work wonders for you!
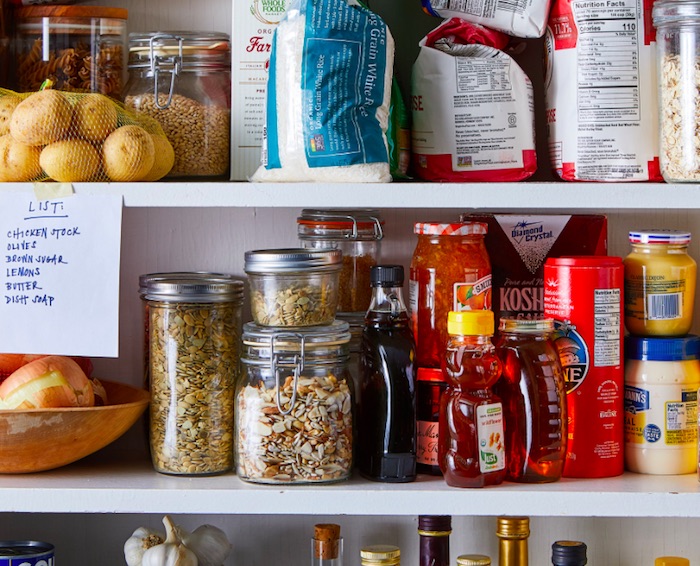
Basic pantry inventory lists have three columns: item, quantity, and expiration. We suggest giving the “quantity” section a little room so you can cross out and write the subtracted quantity left as you cook through your pantry. Pin this list on your pantry door so you easily update it after cooking or trips to the grocery store.
6. Clean and Prepare the Shelves
Cleaning your kitchen pantry might involve just a quick dusting, a gentle wipe down with warm, soapy water and a couple of cleaning rags. If you bump into any forgotten or unseen spills, greasy spots can be fought with vinegar. Make sure you give the containers and each item that’ll end up in your pantry a wipe down and vacuum or sweep up any crumbs.
Contact Paper
Consider lining your shelves with contact paper. They come in many materials and colors so you can buy contact paper that fits your style, cut it to fit your shelves, and give your pantry an overall oomph. You can also use leftover contact paper for kitchen drawers and cabinets.
Aside from aesthetics, contact paper usually has enough grip to hold pesky containers in their place or if you have a tendency to knock things over they soften the blow and protect the shelving from staining. You don’t have to do this step but it’s really beneficial and it’ll save you a lot of elbow grease in your pantry in the future.
Prevent Pests
Now, whether you see any pests or not, make sure you clean your pantry well and get any crevices and corners for any cobwebs. This is a great time to prevent any sugar-loving insects from setting up in your pantry and avoid needing to completely clean out your pantry again.
Vinegar and soapy water are natural repellants that deter pantry bugs from coming around, so avoid using bleach and pesticides while cleaning out the pantry as you don’t want chemicals to come into contact with your food.
7. Organize Before You Put Back

Now that you’ve finished decluttering your kitchen pantry, don’t make the mistake of putting everything back without having some sense of organization. Ask yourself, what about your pantry makes your life hard? Did you forget about ingredients because they were shoved in the back and you couldn’t see them? Do you just have a hard time reaching?
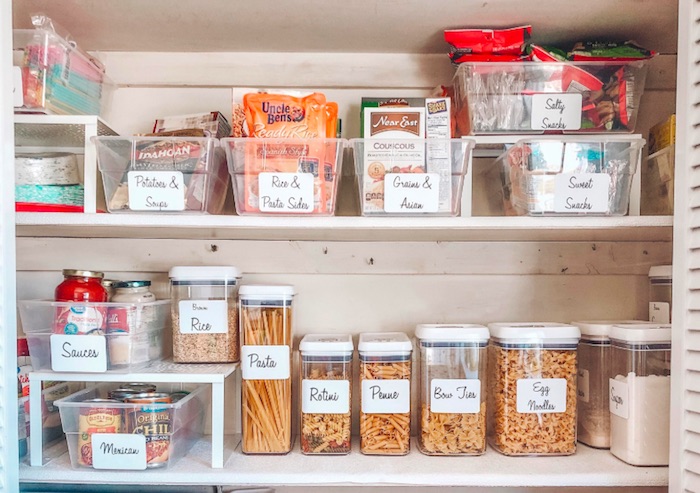
There are many pantry organizers you can purchase, but know that simple and affordable clear plastic bins can hold your categories to keep everything in place. You don’t need to spend a ton of money on aesthetic containers in an effort to live up to your Pinterest board.
Remember those are just pictures and it’s a pantry. No one comes over to catch up on old times in the pantry so save your money for somewhere guests really hang out. Unless you’re already satisfied with the aesthetics of the rest of your home and are dying for your pantry to fall in line with the rest of it, don’t overwhelm yourself with tedious chalk signs.
After you’ve decluttered the pantry and organized it’s going to look pretty darn good anyway.
Instead, try focusing on functional but nice ways to know what’s in your pantry. For hard-to-see items, you can print labels on your computer in fonts you like and tape them to the edges of your shelves to remind you certain items are way in the back!
✨ Pantry Tip: Storing dry goods, like pasta or beans, in glass containers make pantries look nicer.
Put things that you use all the time (or would like to) in the places that are front and center. For example, you could prioritize healthy snacks by putting them easily within reach and the other snacks towards the more Knockturn Alley areas… aka dark and discouraging corners.
Maintain Your Decluttered Pantry
Feel free to rearrange your pantry again and again until it looks as organized as you like and it makes you proud! Giving our pantries an honest look once a year to see what we need to declutter and donate will not only help you stay on top of it, but it will get you in the habit of using up all of the food you buy, which means, in turn, you’re only buying what you use.
And if that wasn’t good enough, building good consumer habits helps reduce your carbon footprint. Not by a lot, but combined with other small eco-friendly habits, living your life is getting easier in your home and becoming easier on the planet.
Recycling everyday waste like old food is one of those habits that you likely already do! However, if you are interested in branching out into more ways of recycling, consider using eco-friendly junk removal services from LoadUp when you want to discard of old kitchen appliances, dining tables, microwaves, and more.
Related Articles from the Trash Talk Blog:

